1 min read
How Cowboy E-Bikes Enhance Performance with the GOM Scan 1
{% video_player "embed_player" overrideable=False, type='hsvideo2', hide_playlist=True, viral_sharing=False, embed_button=False, autoplay=False,...

14:26, Mar 30

19:00, Mar 11

GOM Scan 1 is here to open up new possibilities. Industrial standards such as GOM fringe projection technology and Blue Light Technology deliver the foundation for detailed and accurate 3D meshes. Meanwhile, the integrated software GOM Inspect helps you apply the mesh to any project you want: 3D printing, reverse engineering, or part inspection. So, go ahead and start something big.
Small, mobile, and super easy to use
The lightweight solution allows you to capture 3D data intuitively. Easy to operate, GOM Scan 1 is the specialist for simple and fast measurements of small to medium-sized parts – even in confined spaces.
GOM Scan 1 with pre-installed GOM Inspect takes meshes to the next level. You can rely on high-quality data, generate precise meshes and get your 3D data easily and fast.
Different applications have different requirements. GOM Scan 1 is available in three versions with the measuring volumes: MV 100, MV 200, and MV 400. With all three sensors, you can rely on high-precision measurements for small to medium-sized objects.
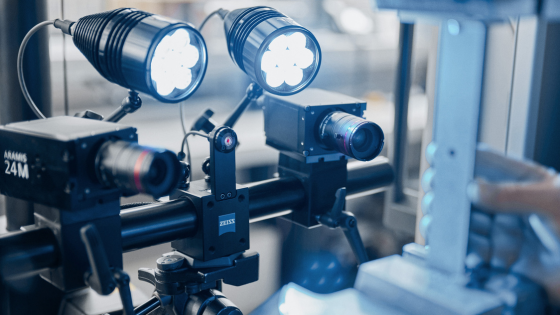
GOM Scan 1 is an optical 3D fringe projection scanner. It captures the complete surface of components with blue fringe projection and delivers detailed resolution in no time.
Due to the stereo camera principle, the sensor recognizes changing ambient conditions during operation and can compensate for these changes. To ensure the quality of the measuring data, the software of the sensor continuously monitors the sensor status.
The projection unit of the new GOM Scan 1 is based on Blue Light Technology. Since the sensor works with narrowband blue light, interfering ambient light can be filtered during image acquisition. Due to its powerful light source, short measuring times can be achieved.
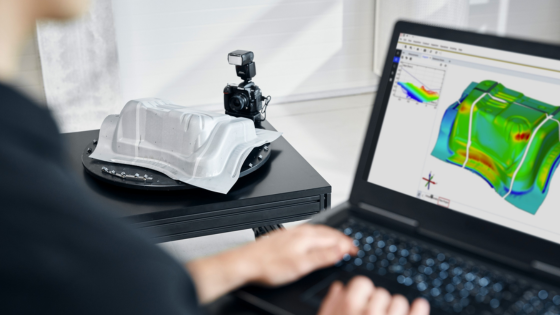
GOM Inspect lets you smooth, thin, and refine polygon meshes, fill holes or extract curvature lines, achieving very accurate meshes that can be saved in many common formats. The best part: our smart polygonization. It creates a mesh with the highest detail while keeping the mesh size easy to handle.

1 min read
{% video_player "embed_player" overrideable=False, type='hsvideo2', hide_playlist=True, viral_sharing=False, embed_button=False, autoplay=False,...
1 min read
AESUB Blue is an innovative, self-vanishing scanning spray that evaporates in just a few hours, eliminating the need to clean after scanning....
1 min read
{% video_player "embed_player" overrideable=False, type='hsvideo2', hide_playlist=True, viral_sharing=False, embed_button=False, autoplay=True,...