Verification of 3D Image Correlation Using Digital High-Speed Cameras
ABSTRACT

14:26, Mar 30

19:00, Mar 11
Strain gauges (or gages) have long been the tool of choice for engineers to measure local strains on the surface of the materials, providing axial or principle strain measurements where the strain gauge is attached. The tedious process of installing strain gauges is what motivated the development of optical strain sensors like the ARAMIS system. Choosing the location of the gauge requires accurate prediction of the strain concentration and engineering judgment. Then highly skilled technicians are required to install the gauge properly and wire it to a data acquisition system.
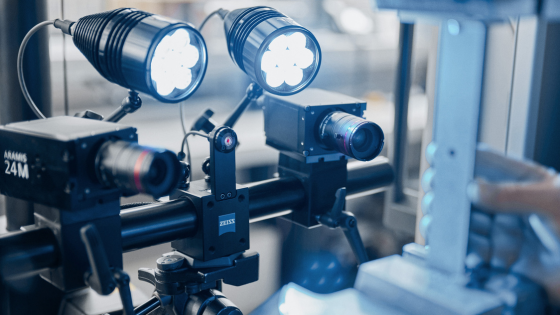
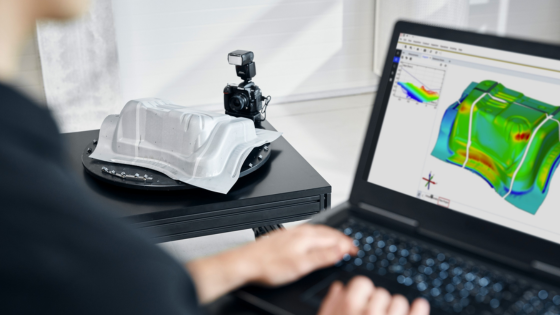
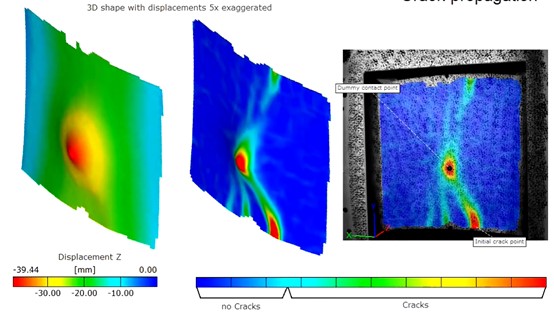
ARAMIS technology is based on 3D Digital Image Correlation (DIC). It tracks a random pattern on the surface of components to provide an accurate and dynamic measurement of the shape, displacements, and strain map all over the surface of the object. All our systems can be integrated into existing test environments, test benches, and testing machines.
The non-contact sensors can be used at all scales to measure full-field 3D strain and deformation of soft and rigid materials under mechanical or thermal load.
Our customers often calculate that ARAMIS is 10 times cheaper than using strain gauges in a test lab and a 100:1 improvement in the quantity of valuable data a test can provide. This is due to the fact that ARAMIS has a single initial investment cost and can be reused for any mechanical testing done in the lab where strain gauges or displacement sensors would normally be used.
Our systems are all turnkey and provided with on-site training to develop the knowledge of the test team on non-contact measuring methods. Two to three days of hands-on training is typically required to fully switch from traditional surface sensor measurements to Digital Image Correlation. Trilion Quality Systems also offers consulting services and application development to help labs implement this technology efficiently.

ABSTRACT
In the world of aerospace engineering and material science, the development of Composite Overwrapped Pressure Vessels (COPVs) marked a significant...
We had a "smashing" time with this phone drop test! During this test, we used the ARAMIS optical testing system to measure the major strain as the...