1 min read
WEBINAR: Next-Gen Digital Material Testing: ASTM-Certified Precision
If you missed our Webinar: Next-Gen Digital Material Testing: ASTM-Certified Precision, we have you covered. Simply click the button below, complete...

14:26, Mar 30

19:00, Mar 11
1 min read
Ben Eisdorfer
:
April 26, 2024 3:19:12 PM EDT
ABSTRACT
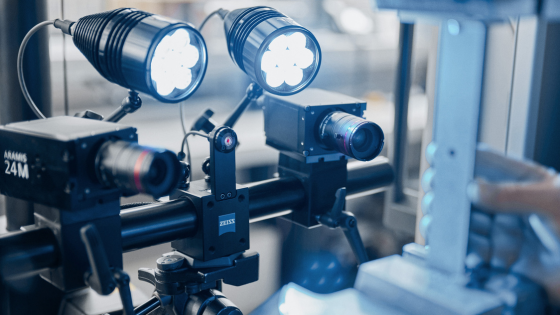
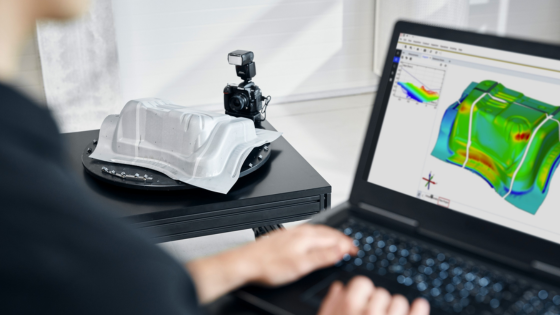
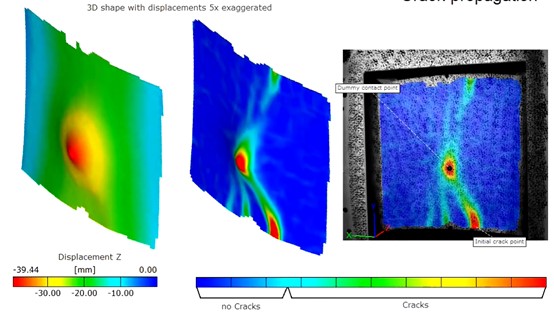
Optical metrology is fast becoming the measurement method of choice because of its great advantages over its mechanical progenitors. Composite manufacturers like Boeing, PWA, and General Atomics use the technology day in and day out, but smaller companies without the complex design and testing infrastructure can benefit even more. 3D Digital Image Correlation is finite element measurement and allows you to understand the material response of complex structures under test intuitively, Dr. Paul Gradl, NASA Marshall, explained recently at an MSFC Optical Metrology Workshop. An image is worth 1000 strain gauges. The ability to understand the full structural response rather than a bunch of strain gauge data provides the CAE engineer with powerful tools to understand his structures and designs. Photogrammetry provides 6-DOF (degrees of freedom) measurement of structures with the same hardware. This equipment can rapidly study thermal expansion to vibration and shock, with cameras running up to 10M fps, from materials studies to manufacturing quality control. This paper will discuss these advanced capabilities for the composites industry and beyond.

1 min read
If you missed our Webinar: Next-Gen Digital Material Testing: ASTM-Certified Precision, we have you covered. Simply click the button below, complete...
1 min read
Throughout our history, Trilion Quality Systems has helped customers in the aerospace industry to obtain the best possible data for their testing...

1 min read
ABSTRACT