1 min read
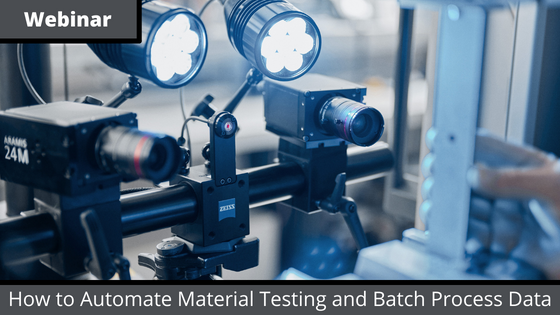
WEBINAR: How to Automate Material Testing and Batch Process Data
If you missed our Webinar, How to Automate Material Testing and Batch Process Data, we have you covered. Just click the button below, fill out the...
19:00, Mar 11
15:36, Feb 24
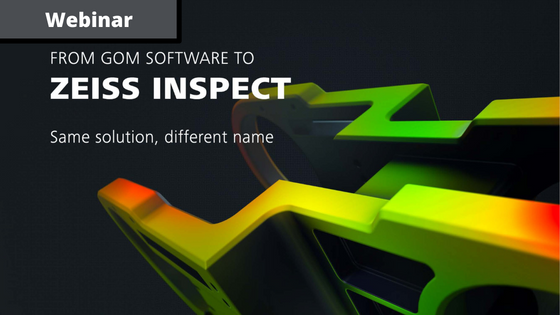
If you missed our Webinar: ZEISS INSPECT SOFTWARE LAUNCH, we have you covered. Just click the button below, fill out the attached form, and follow the link to begin watching the webinar. Here is a short description of what is covered in the webinar:
Discover the 2023 software features with us!
New ARAMIS Controller with AD-Setup Improvements
Facet Matching on GPU
Nominal Surface Components
Adapt Exterior Orientation
New color of surface components
Updated measurement sequences
Homologous projection point
Updated workflow for orientation of several measurement series
Auto-masking (post-processing)
Multiple reference stages for facet-matching
ZEISS INSPECT is the core of our metrology software, complemented by industry-specific variants. These variants are pre-configured and immediately ready for use in the relevant application or task. Consequently, GOM Inspect for inspecting and evaluating 3D measuring data will become ZEISS INSPECT Optical 3D. Our specialist GOM Volume Inspect for analyzing volume data will become ZEISS INSPECT X-Ray. GOM Correlate for analyzing movements and deformations will become ZEISS INSPECT Correlate. For customers from the aerospace industry, all the special evaluation features of GOM Blade Inspect will be available in ZEISS INSPECT Airfoil.
If the webinar left you with any questions or wanting to learn more, please do not hesitate to reach out. We appreciate your time and interest.
1 min read
If you missed our Webinar, How to Automate Material Testing and Batch Process Data, we have you covered. Just click the button below, fill out the...
1 min read
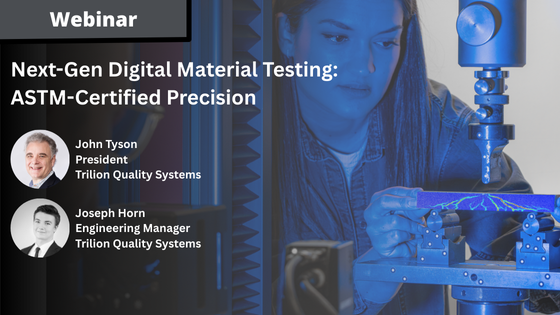
If you missed our Webinar: Next-Gen Digital Material Testing: ASTM-Certified Precision, we have you covered. Simply click the button below, complete...